This week’s photo was taken by Dana
Original:

First I removed the little pathway, added curves for contrast and sharpened the image.
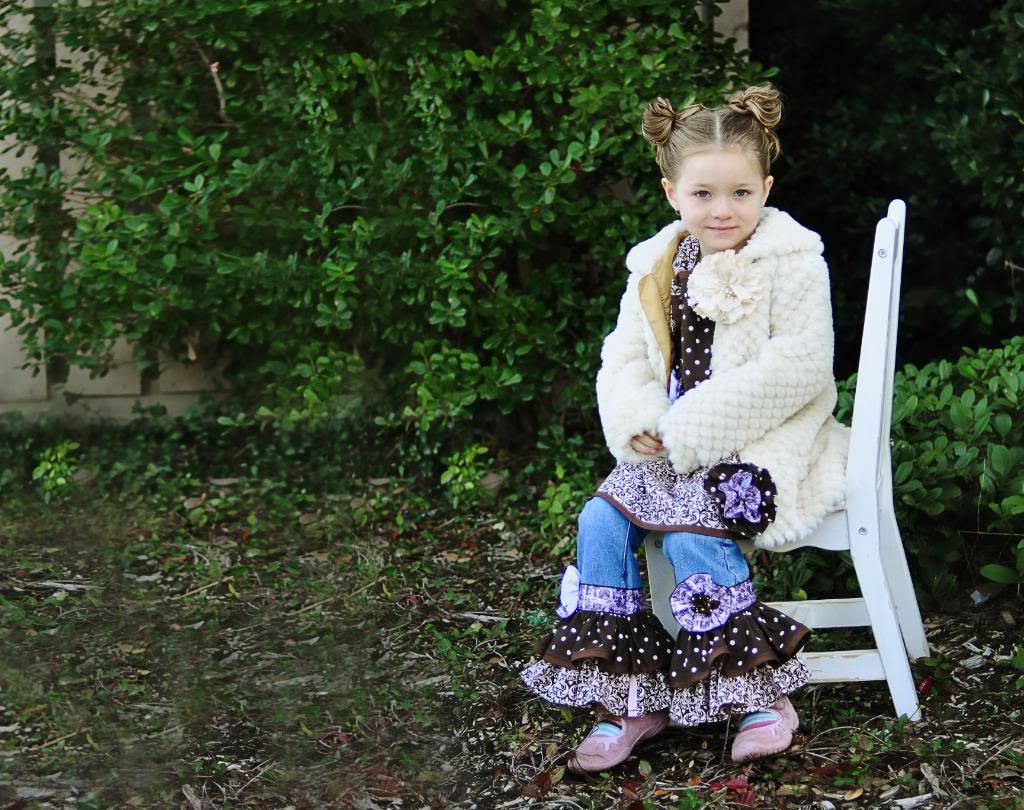
Then I tried a few crops
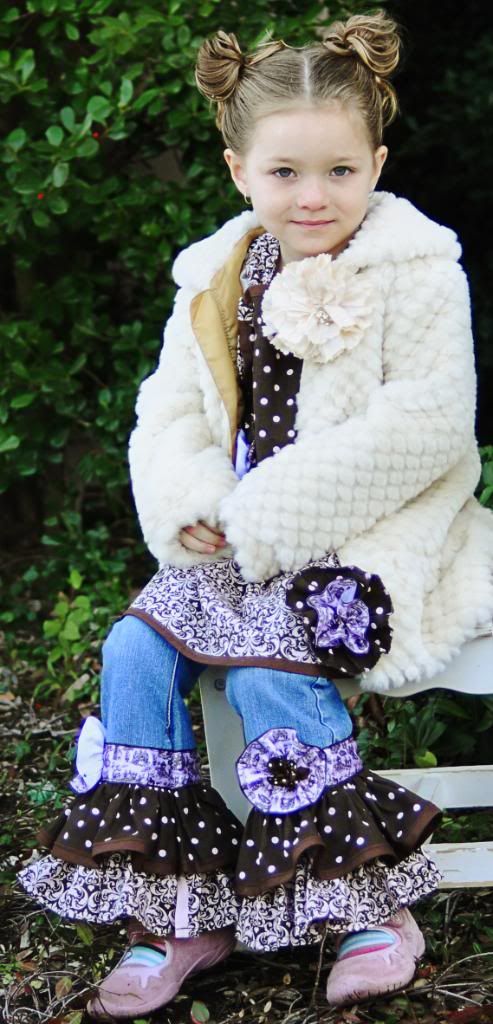



This week’s photo was taken by Dana
Original:
First I removed the little pathway, added curves for contrast and sharpened the image.
Then I tried a few crops
In time for Halloween, this week’s challenge is pumpkin-themed!
The original photo

There is some beautiful backlighting creating a bit of a halo around her hair, but her face is a little dark and the shadows are really blue. So with Curves in Photoshop and some dodging, I brightened up the foreground a bit.
I then played around with the crop. We have been learning how to change backgrounds, so I decided to move the pumpkins in a bit closer.
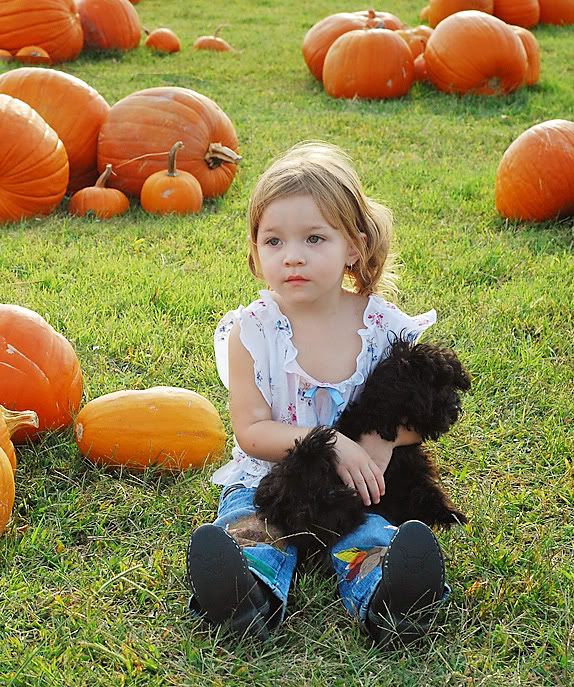
Then just a bit closer crop and the pumpkins moved in a bit.

To see more edits of this photo, be sure to click on the link below!

Little sore after the doctor’s visit so just a short note. (New cast and I have to exercise my fingers)
Original

As you can see, I did quite a bit. My son stood in for my left hand
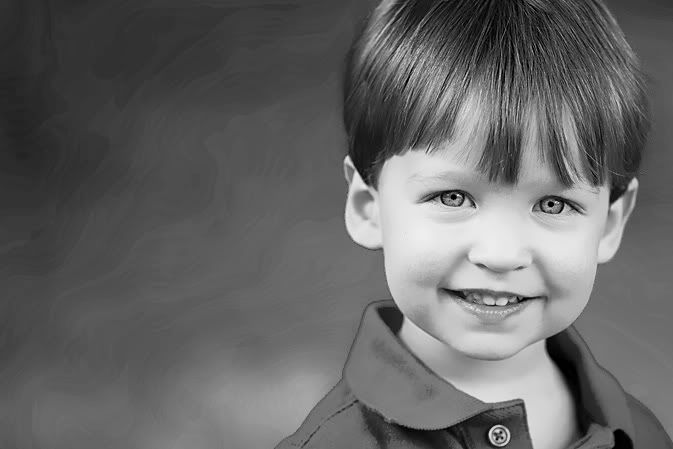
This week’s photo is of the cutest little boy! He has a twin. Just as well the photo is just of one of them, those eyes are mesmerising! This is the original photo.

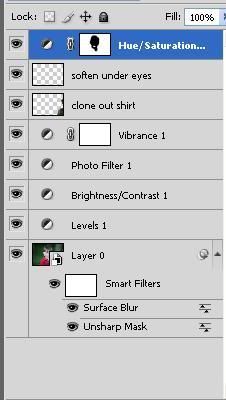
I first did a basic edit with some sharpening and a blur to soften noise and smooth his skin. I also cloned out the blue shirt and blond hair. I added a screen capture of the layers I used, including a photo filter to warm up his skin tone. The Hue/Saturation layer just made his red shirt and lips a bit warmer and brighter.

I then added a crop. The photo is great on its own, I think, but I do like the crop as well. His eyes are just such a big part of the image, I wanted less distraction.

Playing around with a black and white version, I came up with something I really like.
These are just some experiments with Pioneer Woman’s actions.
Old West | Soft & Faded  |
Sunshine | Vintage |
Amazing what we can do with technology!
To see more edits of this image, be sure to visit the website by clicking on the link above.
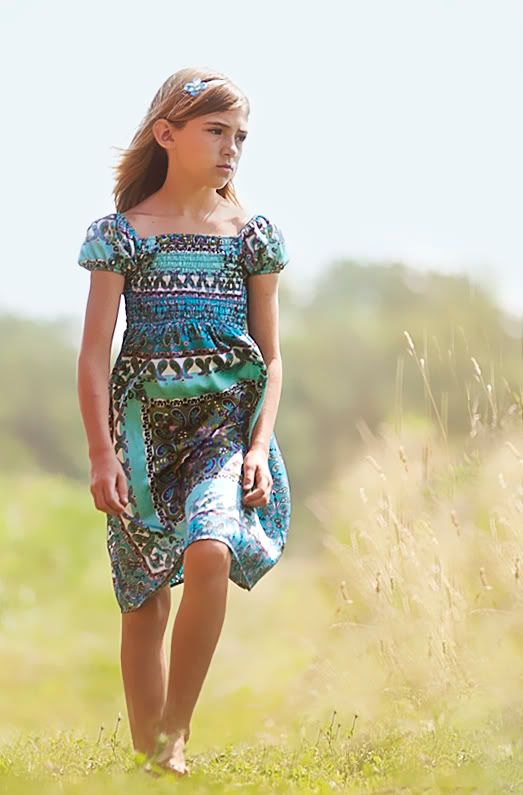
This beautiful young girl is this week’s Fix It Friday challenge.

I played around a little to make the image a little warmer and to get her hair colour to pop a little.
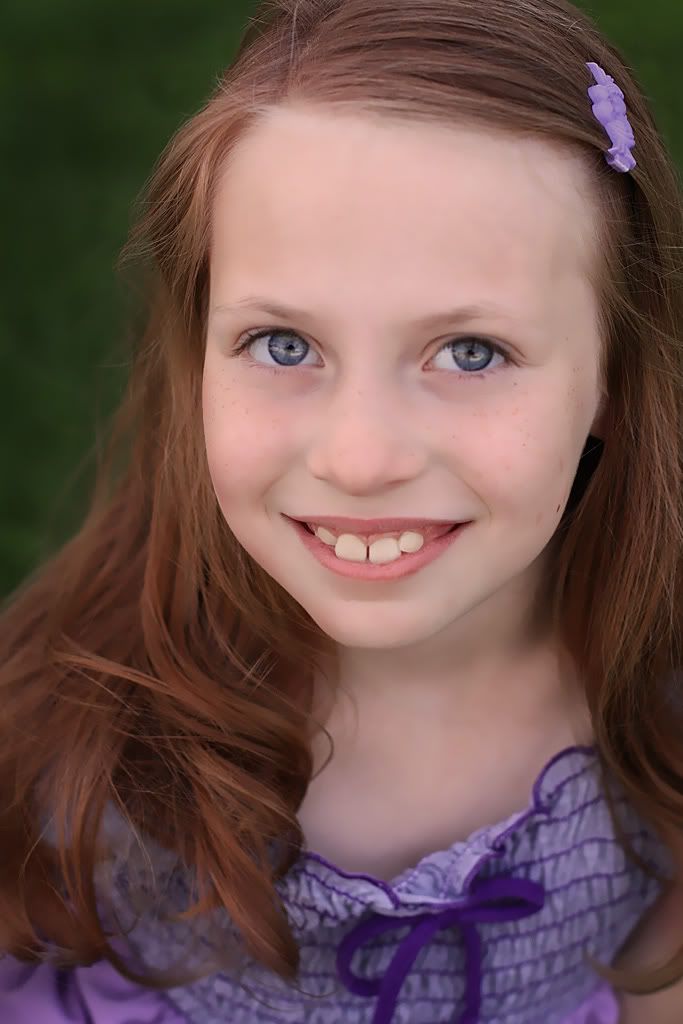
I thought she really had a fairy-like quality to her, so I added some textures


and changed her dress to pink, just to see what it would look like!
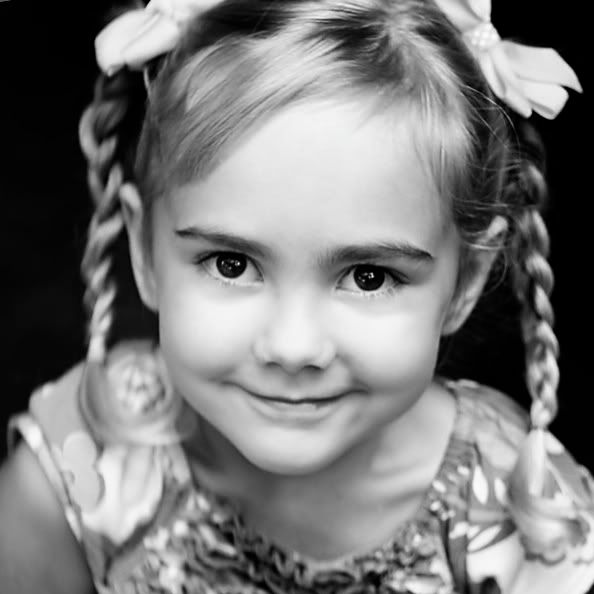
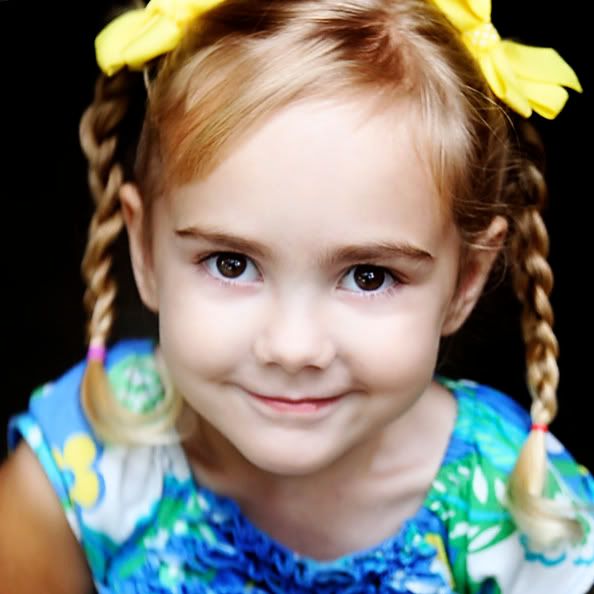
This week’s photo is by Angie. Two gorgeous little girls, aren’t they!

These are just two quick fixes. Lots to do today: a birthday party to go to and the Scott Kelby Worldwide Photowalk this afternoon.
My basic fix just moved the pole and added some blur. Pushed the levels and brightness a bit too. A slightly closer crop was the final bit.
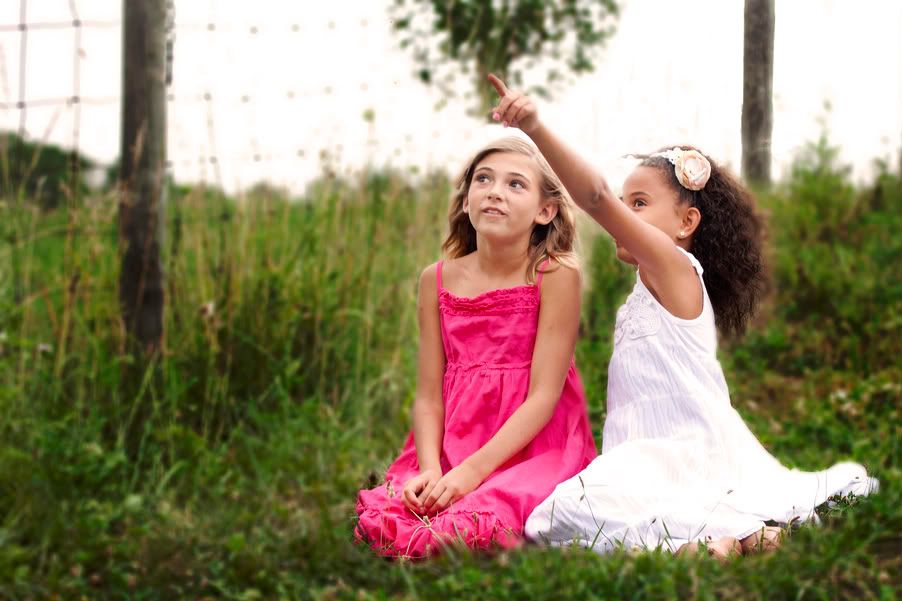
Then I ran Pioneer Woman’s Heartland action at 89%.
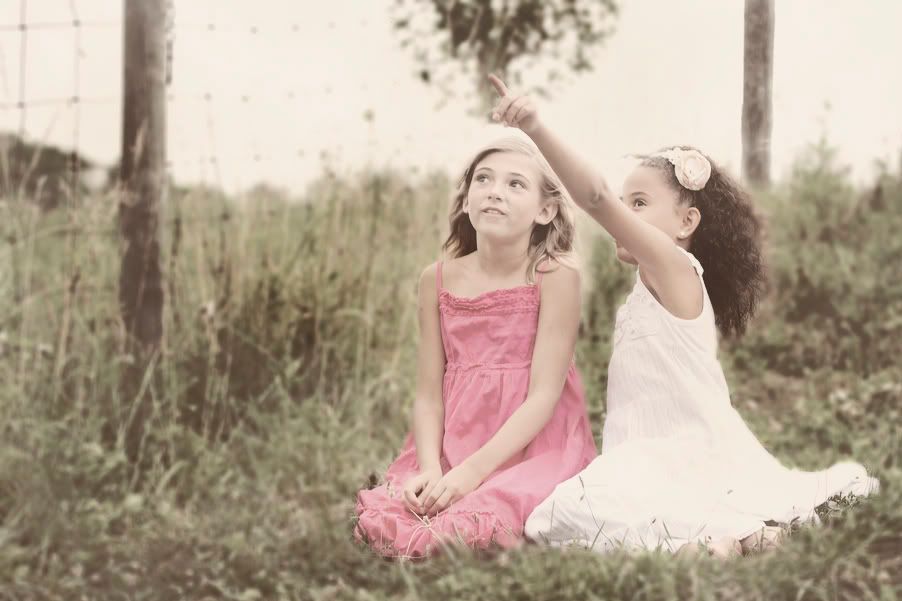
I better run. To see more versions of this image, click the logo above!
This week’s image is of the sweetest little girl. Isn’t she adorable? With such a smile I just want to give her tons of hugs.

First I made the image a bit warmer. The shadows on her face were a little distracting, so I lightened it a bit (with kids you have to grab the moments where you get them!)

I am a photographer, I HAVE to do a black and white version!
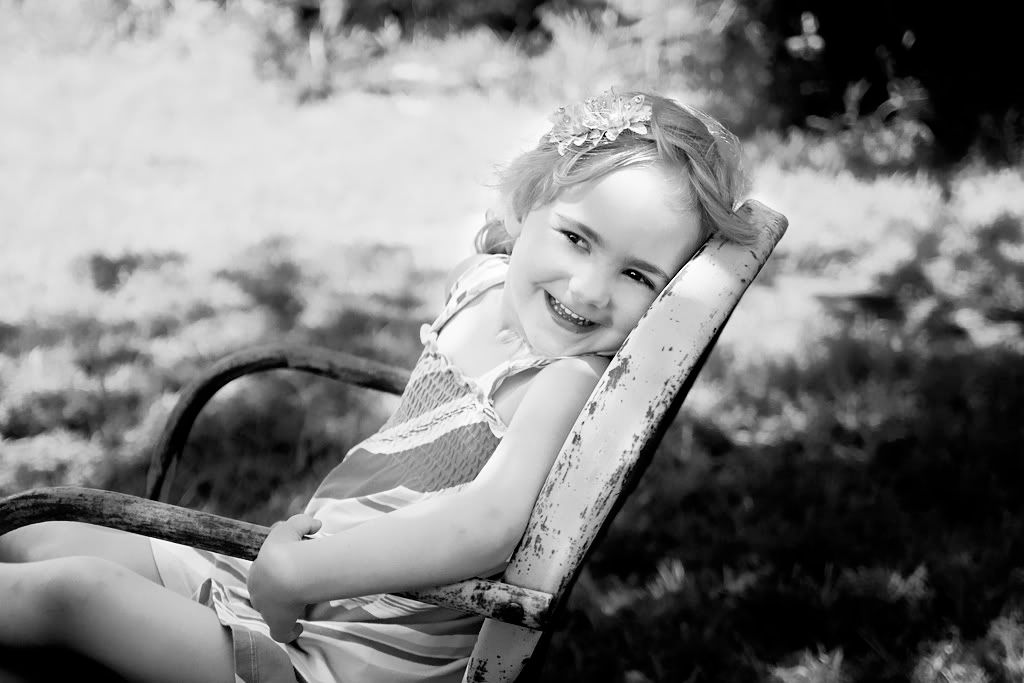
And I tried a little crop with a vignette to darken the edges. (You will often find there is more than one image to grab in a moment.)
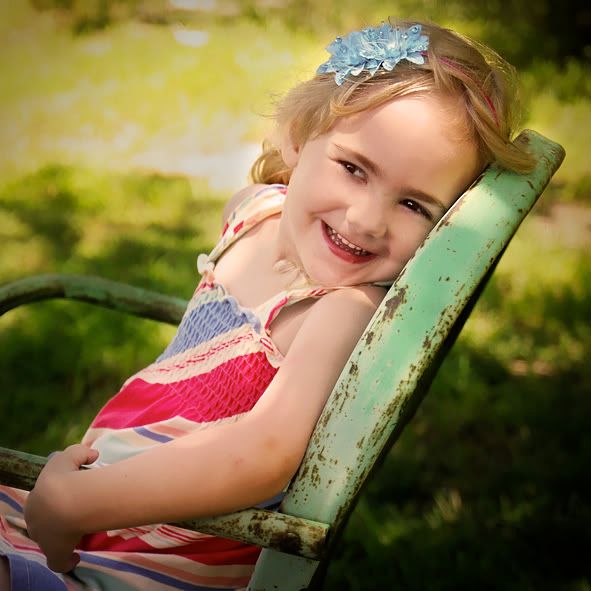
To see more edits, click on the logo above.
This week’s image is really gorgeous. Old train and train tracks just seem to have something so romantic about them!
The original

I duplicated the image, then set it on multiply. I used a photo filter layer to warm it up and played around with the levels a bit.
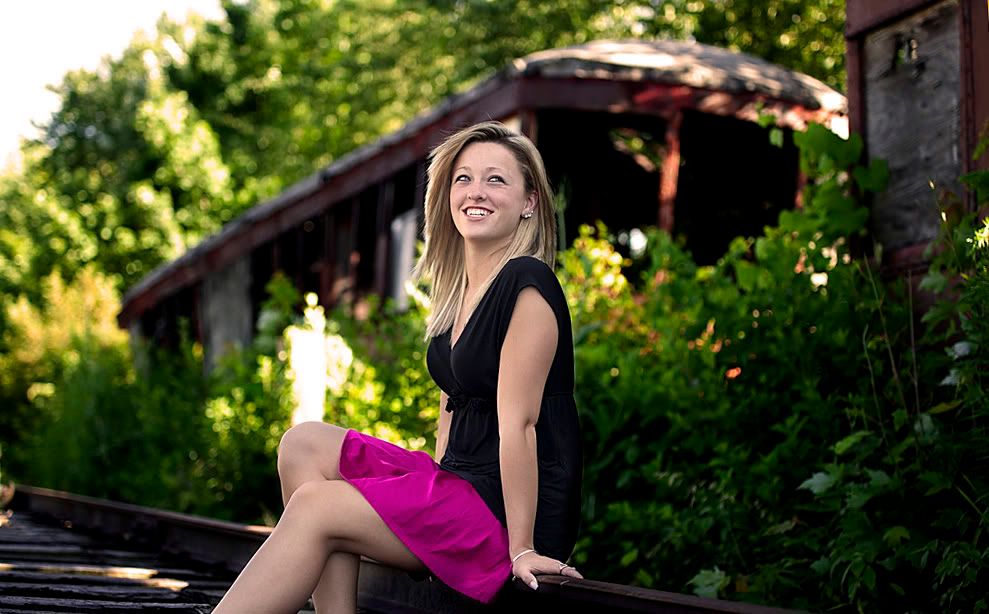
I played around with a few different styles.
Black and white with the greens darkened and the oranges brightened
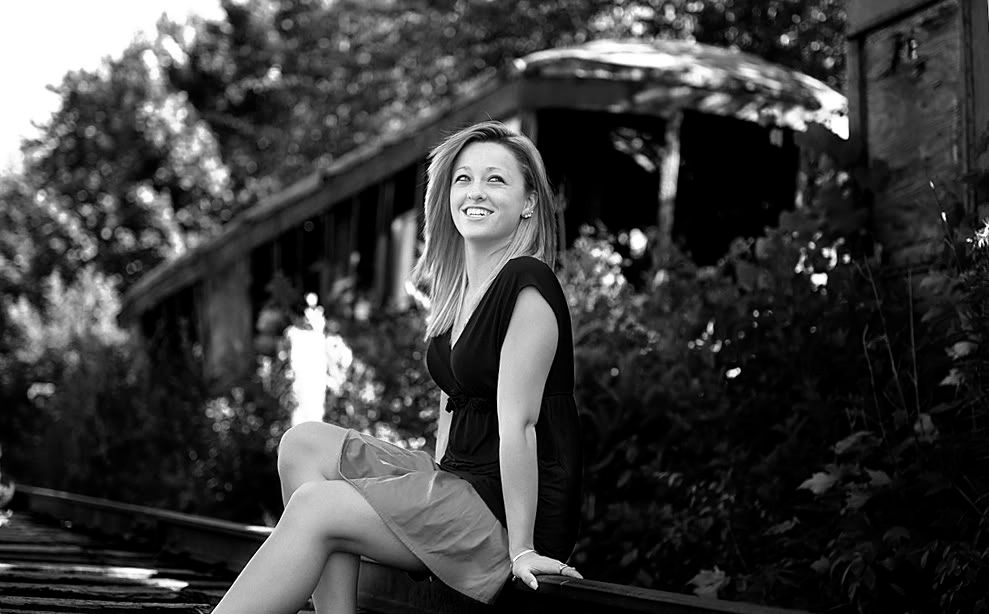
Pioneer Woman’s Lovely and Ethereal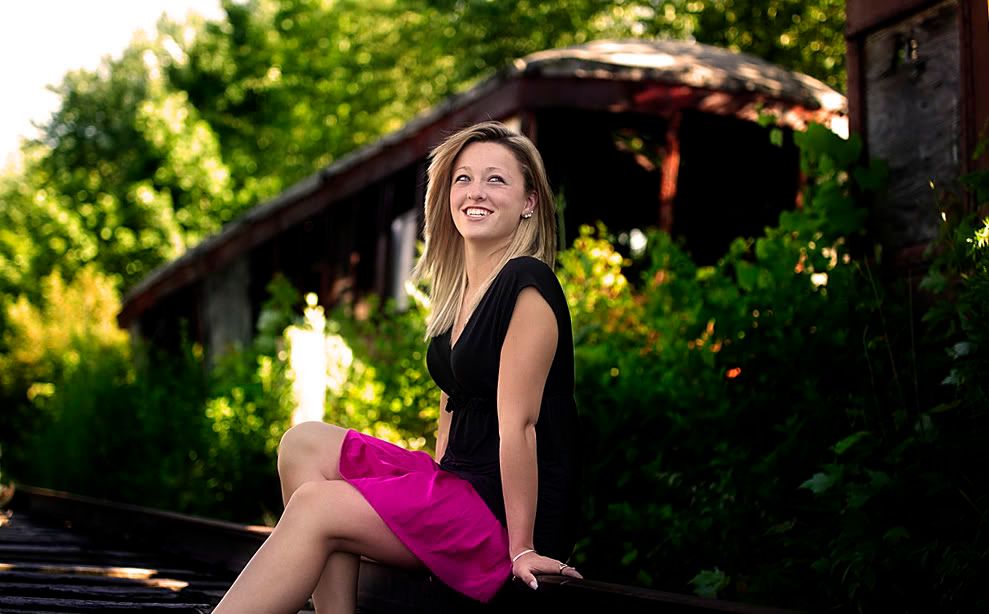
Pioneer Woman’s Old West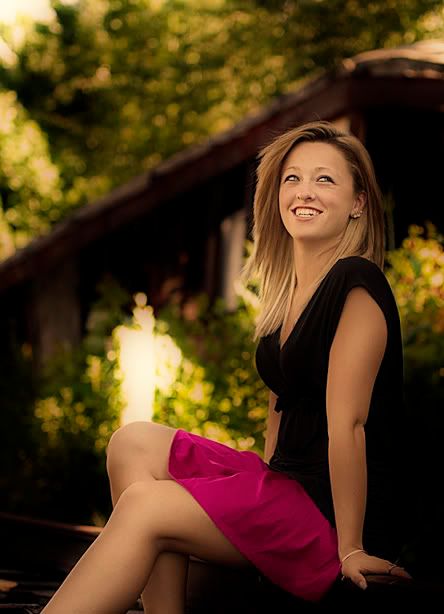
Be sure to check out other fixes by clicking the logo below

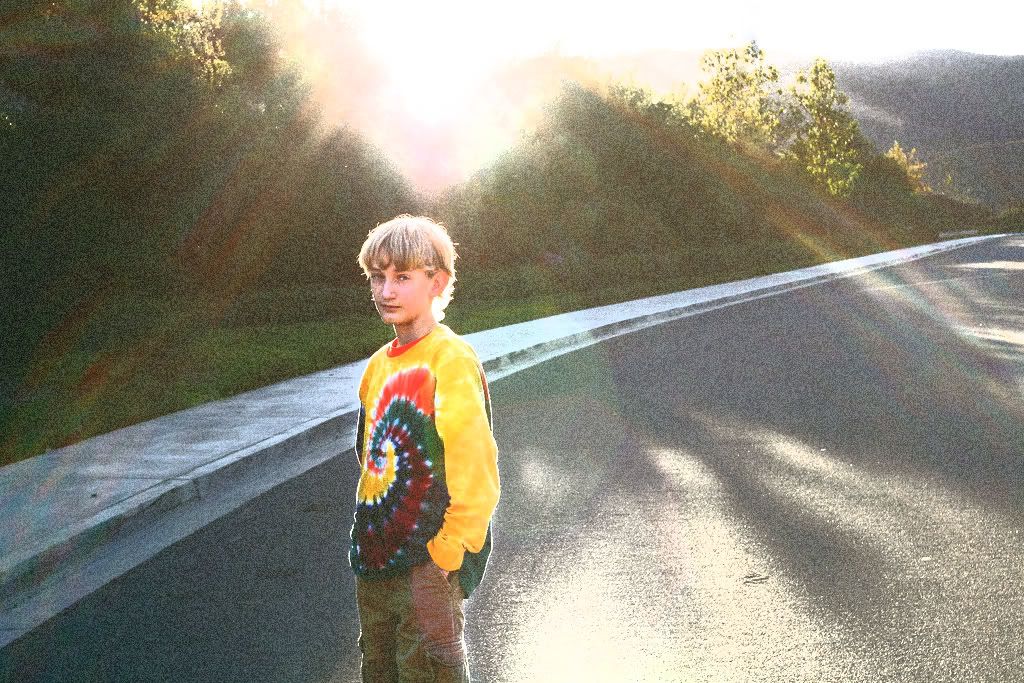
This week’s image by Susan Keller is a bit of a challenge. The curve of the road with the trees is great. There is a lot of potential here, though I would probably have taken the image from lower down, pointing the camera slightly up, so the teenager would look bigger and stronger. The sun flare is just awesome though, so I couldn’t resist playing around a bit.

First I edited out distractions in the background like the pole and the metal box. I pushed up the brightness and contrast a lot and moved the levels around a bit. I also heightened the exposure on the teenager to make him a bit brighter.
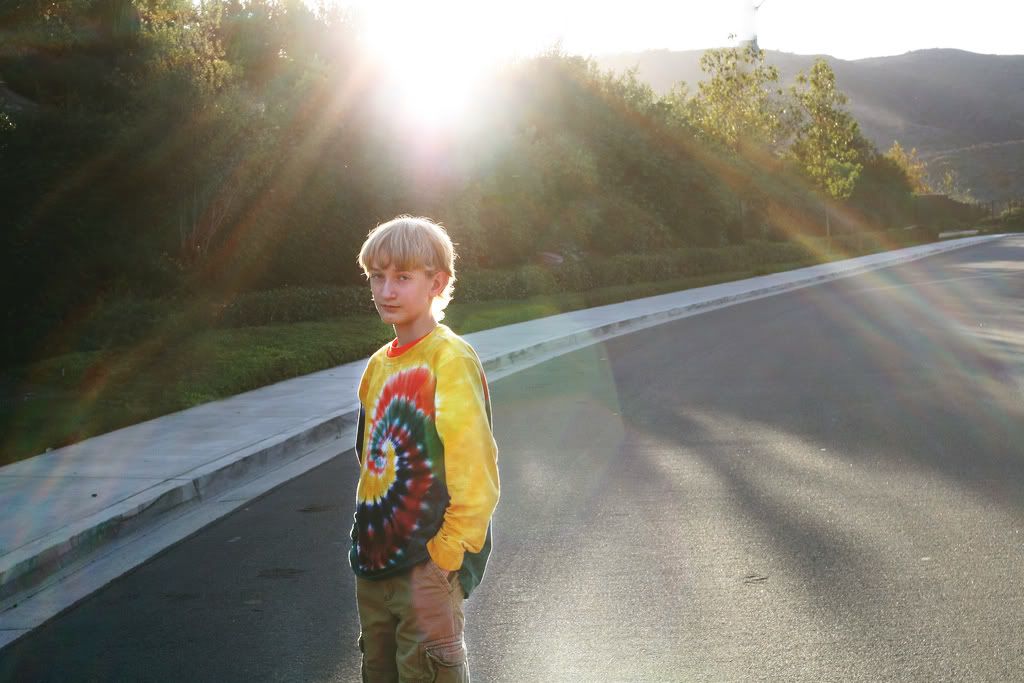
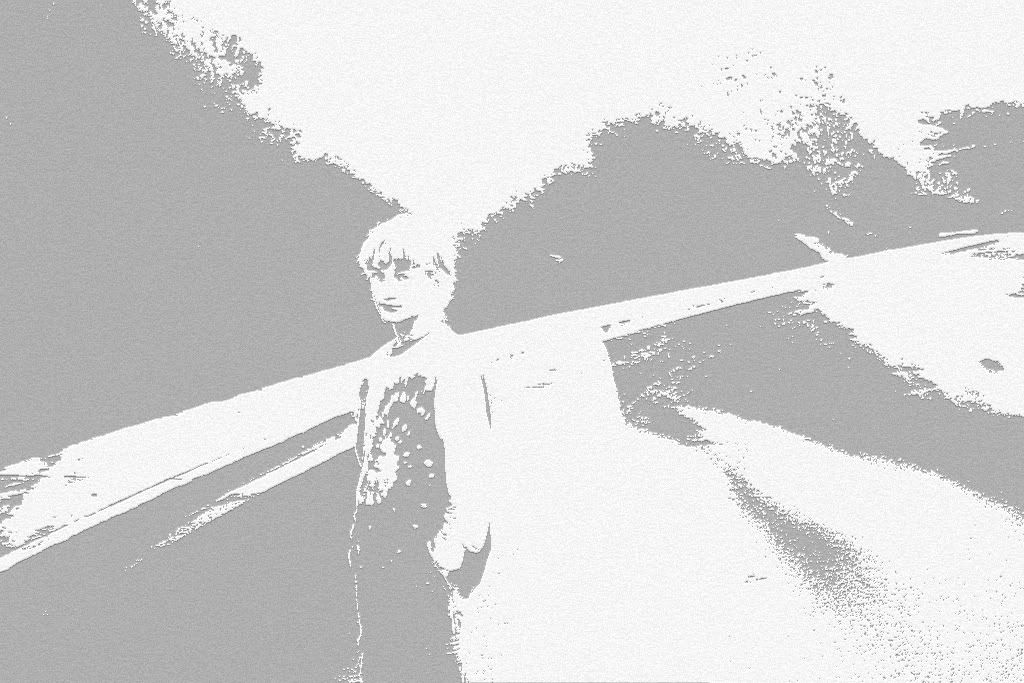
Then I experimented with some filters in Photoshop CS4 I haven’t tried before.
Notepaper Filter
Film grain Filter